Chocolate Explosion Cake: The Ultimate Indulgence for Every Sweet Tooth
Introduction
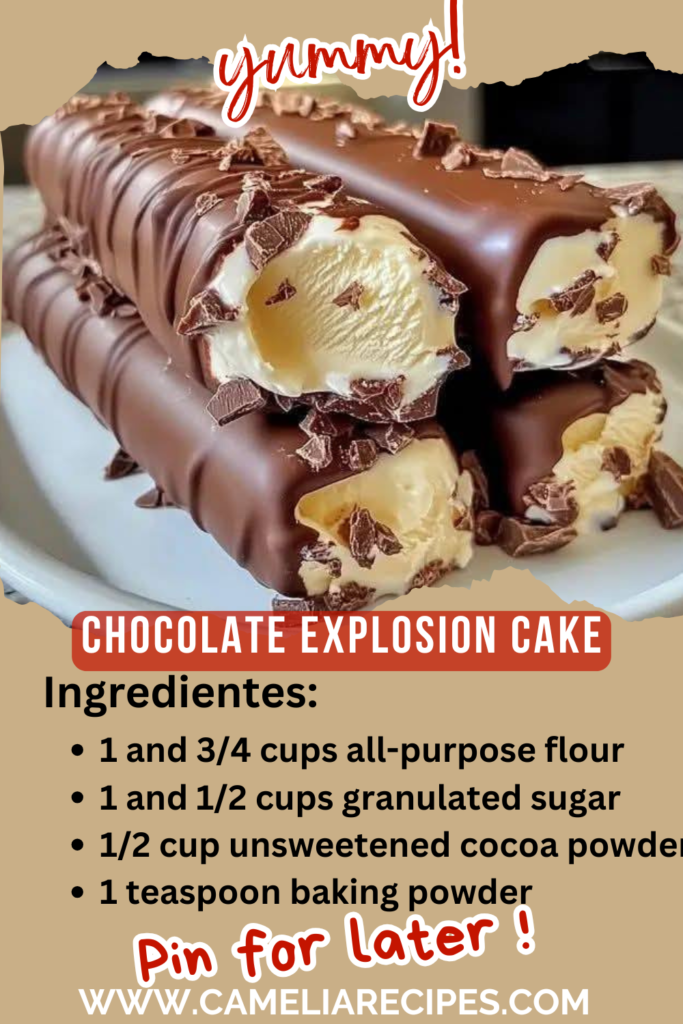
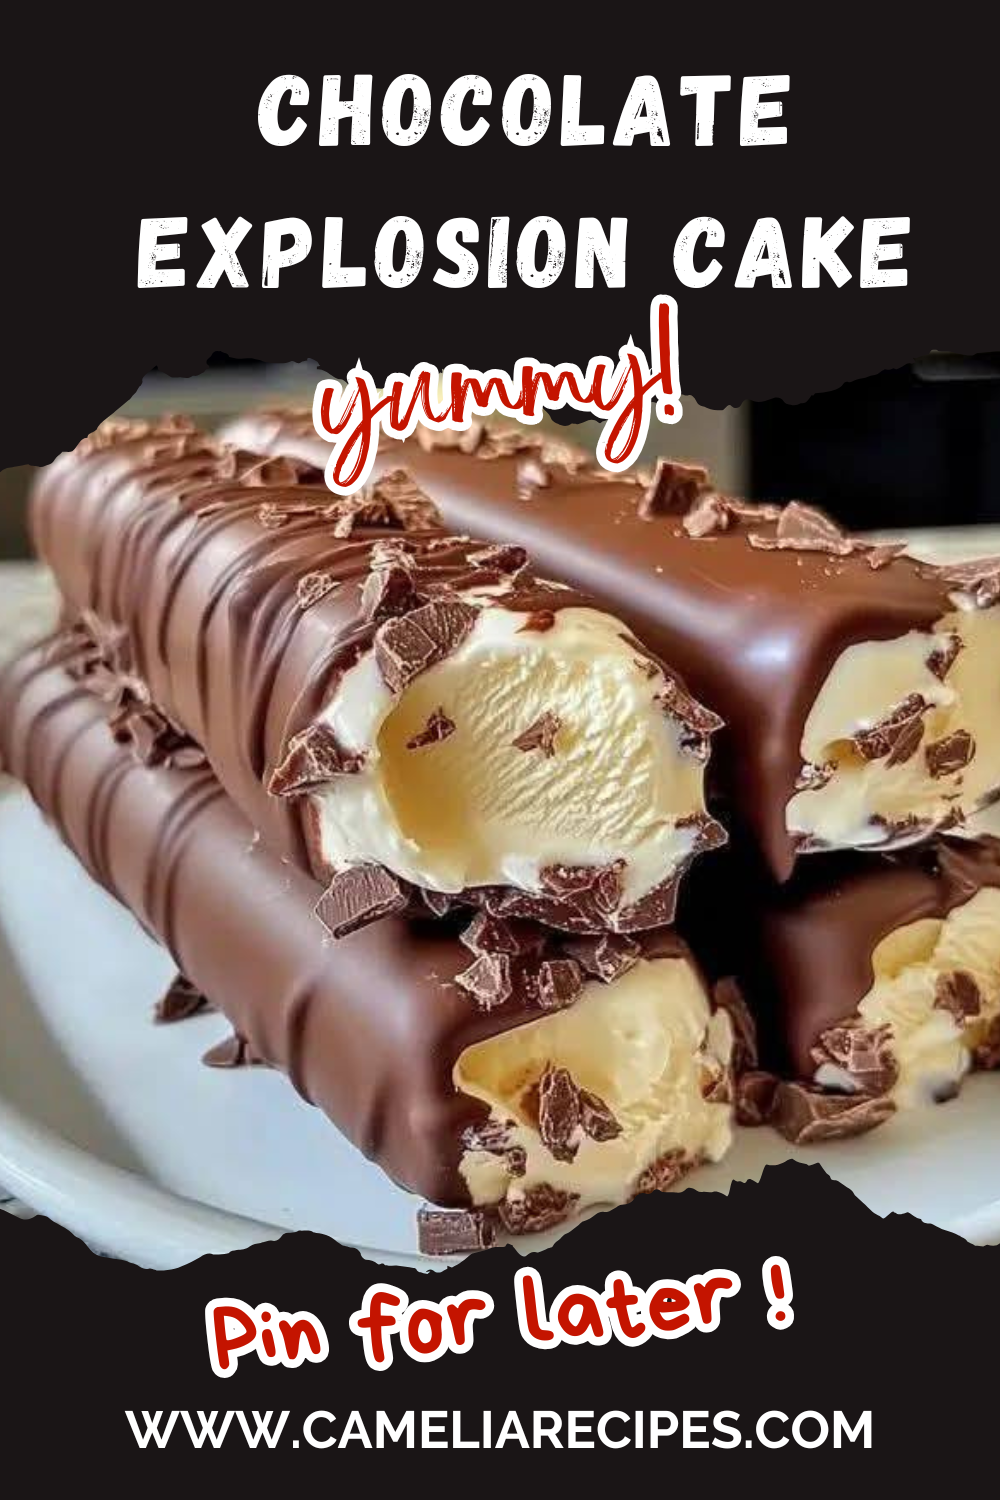
If you’re a chocolate lover, then brace yourself for an unforgettable treat. The Chocolate Explosion Cake is every dessert enthusiast’s dream, offering layers of rich, decadent chocolate that melt in your mouth with each bite. Whether you’re celebrating a special occasion or just satisfying a craving, this cake promises to take your taste buds on an exciting adventure. The luscious layers of chocolate cake, combined with molten fudge and a burst of sweetness, make it the ultimate indulgence.
Chocolate cakes have been a beloved dessert for centuries, originating from European baking traditions. Over time, chocolate cake recipes have evolved, leading to the creation of this spectacular version. Known for its gooey center and decadent finish, the Chocolate Explosion Cake is a modern take on classic indulgence, combining both the texture and flavor of chocolate in a truly unforgettable way.
Ingredients
For the cake:
- 1 and 3/4 cups all-purpose flour
- 1 and 1/2 cups granulated sugar
- 1/2 cup unsweetened cocoa powder
- 1 teaspoon baking powder
- 1 teaspoon baking soda
- 2 large eggs
- 1 cup whole milk
- 1/2 cup vegetable oil
- 1 teaspoon salt
- 2 teaspoons vanilla extract
- 1 cup boiling water
For the molten chocolate center:
- 1 cup semi-sweet chocolate chips
- 1/4 cup heavy cream
- 2 tablespoons unsalted butter
For the frosting:
- 2 cups heavy cream
- 1/2 cup powdered sugar
- 1 teaspoon vanilla extract
- 1/4 cup unsweetened cocoa powder
Step-by-Step Instructions
- Preheat the Oven: Begin by preheating your oven to 350°F (175°C). Grease and flour two 9-inch round cake pans to ensure the cakes won’t stick.
- Prepare the Dry Ingredients: In a large bowl, sift together the flour, sugar, cocoa powder, baking powder, baking soda, and salt. Mixing these dry ingredients well will ensure that the cake batter is light and fluffy.
- Mix the Wet Ingredients: In a separate bowl, whisk together the eggs, milk, vegetable oil, and vanilla extract until smooth and well-combined.
- Combine Wet and Dry Ingredients: Gradually add the wet ingredients into the dry ingredients, stirring continuously to avoid lumps. Once combined, the batter will be thin. This is normal and will contribute to a moist, tender cake.
- Add the Boiling Water: Slowly pour the boiling water into the batter, stirring carefully. This step is key to achieving the melt-in-your-mouth texture. The batter will be runny, but don’t worry—this is exactly how it should be.
- Bake the Cakes: Pour the batter evenly into the prepared cake pans. Bake for 30-35 minutes, or until a toothpick inserted into the center of the cake comes out clean. Allow the cakes to cool in the pans for about 10 minutes before transferring them to a wire rack to cool completely.
- Prepare the Molten Chocolate Center: While the cakes are cooling, prepare the molten chocolate center. In a small saucepan, heat the chocolate chips, heavy cream, and butter over low heat, stirring constantly until smooth and melted. Set aside to cool slightly.
- Assemble the Cake: Once the cakes have cooled, slice them horizontally to create two layers from each cake. Place the first layer of cake on your serving platter. Pour a generous amount of molten chocolate sauce in the center of the first layer, making sure it’s evenly spread. Top with the second layer of cake.
- Make the Frosting: In a chilled mixing bowl, beat the heavy cream, powdered sugar, and vanilla extract until stiff peaks form. Gradually add the cocoa powder, and continue beating until the frosting is thick and smooth.
- Frost the Cake: Spread the chocolate frosting evenly over the top and sides of the cake, creating a smooth and decadent exterior. For an extra touch, decorate with chocolate shavings or additional melted chocolate.

Tips for Success
- Use Room Temperature Ingredients: Make sure your eggs, milk, and oil are at room temperature before mixing. This ensures the batter comes together smoothly and results in a more even texture.
- Don’t Skip the Boiling Water: The addition of boiling water makes the batter thinner but contributes to a moist, gooey cake. It’s essential for the cake’s texture, so don’t skip this step.
- Customize the Chocolate Center: If you prefer a different chocolate flavor, feel free to experiment with milk or dark chocolate chips in place of semi-sweet.
- Chill the Frosting: For easier frosting, place the mixing bowl and beaters in the fridge for 10-15 minutes before you start whipping the cream.
Frequently Asked Questions
- Can I make this cake ahead of time? Yes, you can bake the cakes ahead of time and store them in an airtight container at room temperature for up to 2 days. Frost the cake just before serving.
- How do I store leftover cake? Store any leftover cake in an airtight container in the refrigerator for up to 3-4 days. The cake will stay fresh and moist due to the molten chocolate center.
- Can I freeze this cake? Yes, you can freeze the cake layers. Wrap each layer in plastic wrap and place in a freezer-safe bag. It will keep for up to 3 months. Thaw in the fridge overnight before frosting and serving.
- Can I use a different frosting? While this recipe uses a rich chocolate frosting, you can substitute it with whipped cream, buttercream, or even a simple ganache for a different flavor.
Final Thoughts
The Chocolate Explosion Cake is a show-stopping dessert that promises to satisfy even the most intense chocolate cravings. With its rich layers, molten center, and silky frosting, it’s sure to be a hit at any gathering. Whether you’re baking for a celebration or simply treating yourself, this cake will not disappoint. Give it a try today and share your experience in the comments!
Conclusion
If you’re ready for an extraordinary chocolate experience, this Chocolate Explosion Cake is the dessert you’ve been waiting for. Perfect for any occasion, this cake will leave your guests in awe. Don’t forget to share this recipe with your friends and family, and let us know how it turned out!
- Fig and Walnut Cake: A Rustic and Nutty Delight
 Sharing is caring! Facebook Pinterest This Fig and Walnut Cake is a rustic, wholesome dessert that combines the natural sweetness of dried figs with the rich, earthy crunch of walnuts. Layers of dense, spiced cake are studded with tender fig pieces and toasted walnuts, then topped with a simple honey glaze for a touch of …
 - Lemon Ricotta Cake: A Light and Zesty Delight
 This Lemon Ricotta Cake is a refreshing and tender dessert that combines the creamy richness of ricotta cheese with the bright, tangy flavor of fresh lemons. The ricotta adds a delicate moistness to the cake, while the lemon zest and juice provide a zesty punch that’s perfectly balanced by a dusting of powdered sugar or …
 - Lemon Coconut Cream Cake: A Zesty and Tropical Treat
 This Lemon Coconut Cream Cake is a vibrant and refreshing dessert that combines the bright, tangy flavor of lemons with the sweet, nutty crunch of coconut. Layers of moist lemon cake are filled with a creamy coconut filling and topped with a silky lemon glaze, creating a harmonious blend of flavors and textures. Perfect for …
 - Banana Pecan Cake: A Moist and Nutty Treat
 This Banana Pecan Cake is a comforting and indulgent dessert that combines the natural sweetness of ripe bananas with the rich, buttery crunch of pecans. Layers of moist banana cake are studded with toasted pecans and topped with a creamy cream cheese frosting for an extra layer of decadence. Perfect for breakfast, brunch, or as …
 - No-Bake Chocolate Cheesecake Ice Cream: 2025
 Introduction: If you’re looking for a dessert that combines the rich, creamy texture of cheesecake with the indulgent sweetness of chocolate, look no further than this No-Bake Chocolate Cheesecake Ice Cream. This dessert is the perfect treat for any occasion, from casual family gatherings to special celebrations. With no baking required, it’s quick to prepare …

